
Piscataway Roofing specializes in roof leak repair in Piscataway, NJ, serving surrounding cities including Middlesex, Highland Park, Bound Brook, Metuchen and Manville. In more than 20 years of chasing leaks, we have learned that the drip in the ceiling is almost never directly under the hole in the roof. That is why our leak calls begin inside the attic, not on the ladder.
Water that gets past a shingle or a piece of flashing rarely falls straight down. It runs along the top of a rafter, follows a nail line or rides the underside of the decking until it finds a low point, and only then shows up as a stain. Tracing that path backward is the whole job, and pricing a repair before it is done is guessing.
Once the entry point is confirmed, you get a clear answer about the fix. Most leaks come from one failed detail on an otherwise sound roof, and those are repairs. When a leak is a symptom of a roof that is worn out everywhere, we say so and show you the photos, but we never lead with replacement.
Where Roof Leaks Usually Start
Chimney Leaks
Chimneys are the most common source of leaks we find. Water gets in where the step flashing along the sides has rusted through, where counter flashing has pulled out of its reglet in the mortar, or where a wide chimney has no cricket behind it to split the water flowing down the roof.
The chimney itself can leak too, through a cracked crown, a missing cap or open mortar joints, and that water shows up in the attic as if it came from the roof. We check both the flashing and the masonry before deciding which one needs the repair.
Valley and Dormer Leaks
Valleys carry more water than any other part of the roof, so worn shingles or a cut that sits too close to the center of the valley show up as leaks quickly. Dormers add another weak point where the roof meets the dormer’s side walls and front face.
We look at how the valley was built, whether open with metal, closed-cut or woven, and replace the failed portion with the same method so it ties into the rest of the roof properly. On dormers, the step flashing and the apron at the bottom get the closest look.
Skylight Leaks
A skylight can leak at its flashing, at the seal between the glass and the frame, or from condensation running down the inside of the well. Curb-mounted units sit on a raised wooden frame and are flashed differently from deck-mounted units, so the fix depends on which you have.
If the flashing has failed, reflashing may be enough. If the unit itself is fogged, cracked or decades old, replacing it during the leak repair costs less than reflashing an old unit that will fail again.
Pipe Boots and Roof Vents
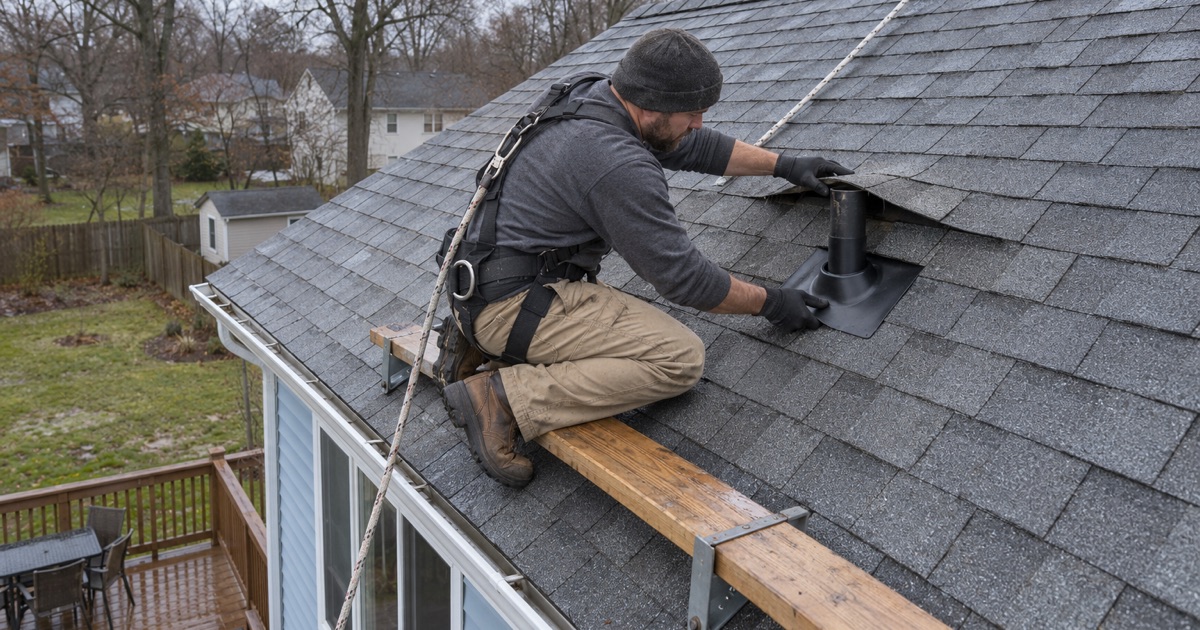
The rubber collars around plumbing vents crack in the sun, and once the rubber splits, water runs down the pipe and into the ceiling below. Exhaust caps for bathroom fans and dryer vents can leak at their flashing or let wind-driven rain blow straight in.
These are some of the quickest leaks to fix, and some of the most common. We replace cracked boots with new ones or with lead flashing boots and check every other vent on the roof while we are up there.
Roof-to-Wall Corners and Kick-Out Flashing
Where a lower roof ends against a second-story wall, a small piece called kick-out flashing should turn the water into the gutter. Without it, water pours down behind the siding and rots the sheathing, and the leak often appears on a first-floor wall far from the roof.
We add or replace kick-out flashing and the step flashing above it. On homes with vinyl siding, that may mean carefully removing a few courses of siding to set the flashing correctly.
Leaks That Are Not Really the Roof
Attic Condensation
Warm, moist air leaking into a cold attic condenses on the underside of the decking and on nail tips, then drips onto the insulation and ceiling when the weather warms. It looks exactly like a roof leak, and patching shingles does nothing to stop it.
Bathroom fans that vent into the attic rather than outside, blocked soffit vents and gaps around light fixtures are the usual causes. We find them during the attic check and explain the fix, which is often cheaper than any roof repair.
Ice Dams
When snow melts on the upper roof and refreezes at the cold eaves, the ice builds a dam that backs water up under the shingles. The leak appears along an exterior wall, often at the top of a window, during a thaw after a snowstorm.
The repair has two parts: fixing the damaged roof edge, and reducing the heat loss and poor ventilation that cause the melting. When the roof is replaced, adding ice and water barrier at the eaves gives extra protection, though New Jersey requires it only in Sussex County.
Gutter Overflow and Missing Drip Edge
A clogged or poorly pitched gutter can overflow back toward the house, and without drip edge the water runs behind the gutter onto the fascia and into the soffit. Stains on the soffit or the top of the siding are the giveaway.
Clearing and repitching the gutter and adding drip edge stops it. When the gutters are undersized for the roof above them, we explain the option of seamless gutters and larger leaders sized to the roof.
Flat Roof Leak Repair
Open Seams and Blisters
Low-slope roofs over additions, porches, garages and commercial buildings leak at their seams, at blisters in torch-down modified bitumen, and where membranes shrink away from walls. EPDM seams are cleaned and taped, TPO and PVC seams are heat-welded, and modified bitumen is cut out and rebuilt with overlapping layers.
Because water travels under a membrane before it shows up inside, we inspect every seam near the leak rather than only the one above the stain. Fixing one seam while its neighbor stays open only moves the drip.
Ponding and Drain Problems
Water that sits on a flat roof for days finds every weak seam eventually. Clogged drains, scuppers set too high and sagging decks all cause ponding, and fixing the drainage is often as important as patching the leak itself.
On commercial buildings we also check the flashing around rooftop units and pipe supports, where service visits frequently puncture the membrane. Those punctures are small, but they let water into the insulation across a wide area.
Our Step-by-Step Leak Repair Process
Step 1: Stop the Water
If water is coming in, the first priority is a tarp or temporary seal. That stops the damage spreading inside while the source is found.
Step 2: Trace It From the Attic
We follow stains, wet wood and rusted nails from the ceiling back to the entry point. Then we confirm it on the roof surface and photograph it.
Step 3: Test When Needed
For leaks that hide, a controlled hose test, run one section at a time from the bottom up, reproduces the leak and confirms the source before anything is torn open.
Step 4: Repair and Report
The failed part is replaced with matching materials, and you receive photos of the source and the finished repair. With those in hand, interior repairs can be scheduled knowing the ceiling will stay dry.
- 20+ Years Roofing
- Itemized Written Estimates
- Attic-to-Ridge Leak Tracing